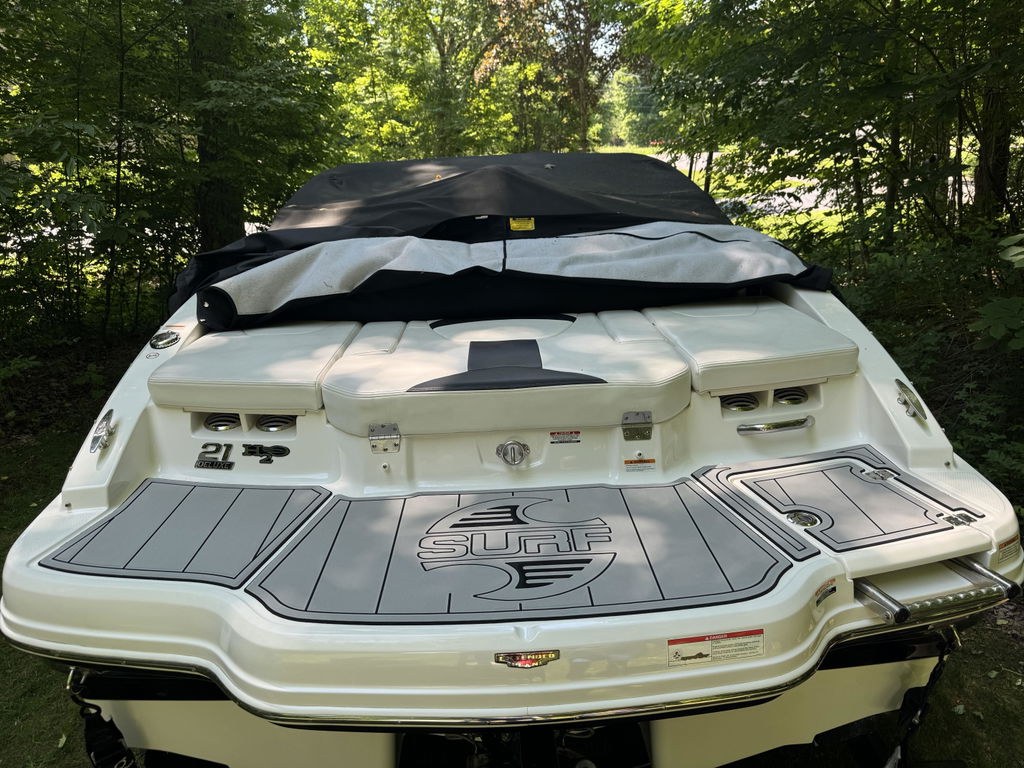
Replacing Jet Ski Traction Mats: A Step-by-Step Guide
Jet ski traction mats play a crucial role in ensuring a comfortable and secure grip for riders. Over time, wear and tear can occur, necessitating replacement. If you're looking to refresh your jet ski's traction mats, follow this comprehensive step-by-step guide for a hassle-free process.
Tools and Materials Needed
1. Replacement Traction Mats: Ensure they are compatible with your jet ski model.
2. Screwdriver or Allen Wrench: For removing screws or bolts securing the old mats.
3. Utility Knife: To cut and trim the new traction mats if needed.
4. Rubbing Alcohol: For cleaning the surface before applying new mats.
5. Measuring Tape: To ensure precise cutting and placement of the new mats.
6. Marker or Chalk: For marking areas to be cut or trimmed.
Step 1: Preparation
Before you begin, make sure your jet ski is on a stable surface. Disconnect the battery to ensure safety during the replacement process. Gather all necessary tools and materials to have them within reach.
Step 2: Remove Old Traction Mats
Use a screwdriver or Allen wrench to remove the screws or bolts securing the old mats. Carefully peel off the existing mats, taking note of any adhesive residue left on the surface.
Step 3: Clean the Surface
Thoroughly clean the jet ski's surface where the new traction mats will be applied. Use rubbing alcohol to remove any remaining adhesive, dirt, or grease. A clean surface ensures better adhesion for the new mats.

Step 4: Measure and Cut
Unroll the replacement traction mats and place them over the designated areas. Use a measuring tape to ensure accurate sizing. Mark any areas that need trimming with a marker or chalk. Use a utility knife to make precise cuts.
Note: If it is a custom Jet Ski traction Mats, no measuring and cutting is required
Step 5: Position and Press
Carefully position the new mats over the cleaned and prepared surface. Start from one end and press the mats firmly int
o place, working your way to the other end. Pay special attention to edges and corners to prevent any lifting.


Step 6: Secure with Screws
If your jet ski's original design includes screws or bolts, use them to secure the new traction mats. Ensure they are tightened appropriately without over-torquing.
Step 7: Trim Excess
After the adhesive has fully cured, use a utility knife to trim any excess material along the edges for a neat and professional finish.
Step 9: Reconnect Battery
Once the replacement process is complete, reconnect the jet ski's battery.
Congratulations! You have successfully replaced the traction mats on your jet ski. Enjoy the improved grip and aesthetics as you hit the waves with confidence. For more motorboat kits, please click here to view
If no template is available, a template kit can be purchased: Template Kits
For a detailed process of creating a template check out this article: Creating a Template for Your Custom Hjdeck Kit
Share